Hey there!! The agenda of this post is to get you on the speed with SwiftUI and I have chosen the most versatile UI component in iOS app world the UITableView.
Today we will be making a UITableView with a custom cell and I will try to keep it as simple as possible.Let’s begin
Creating a SwiftUI Application
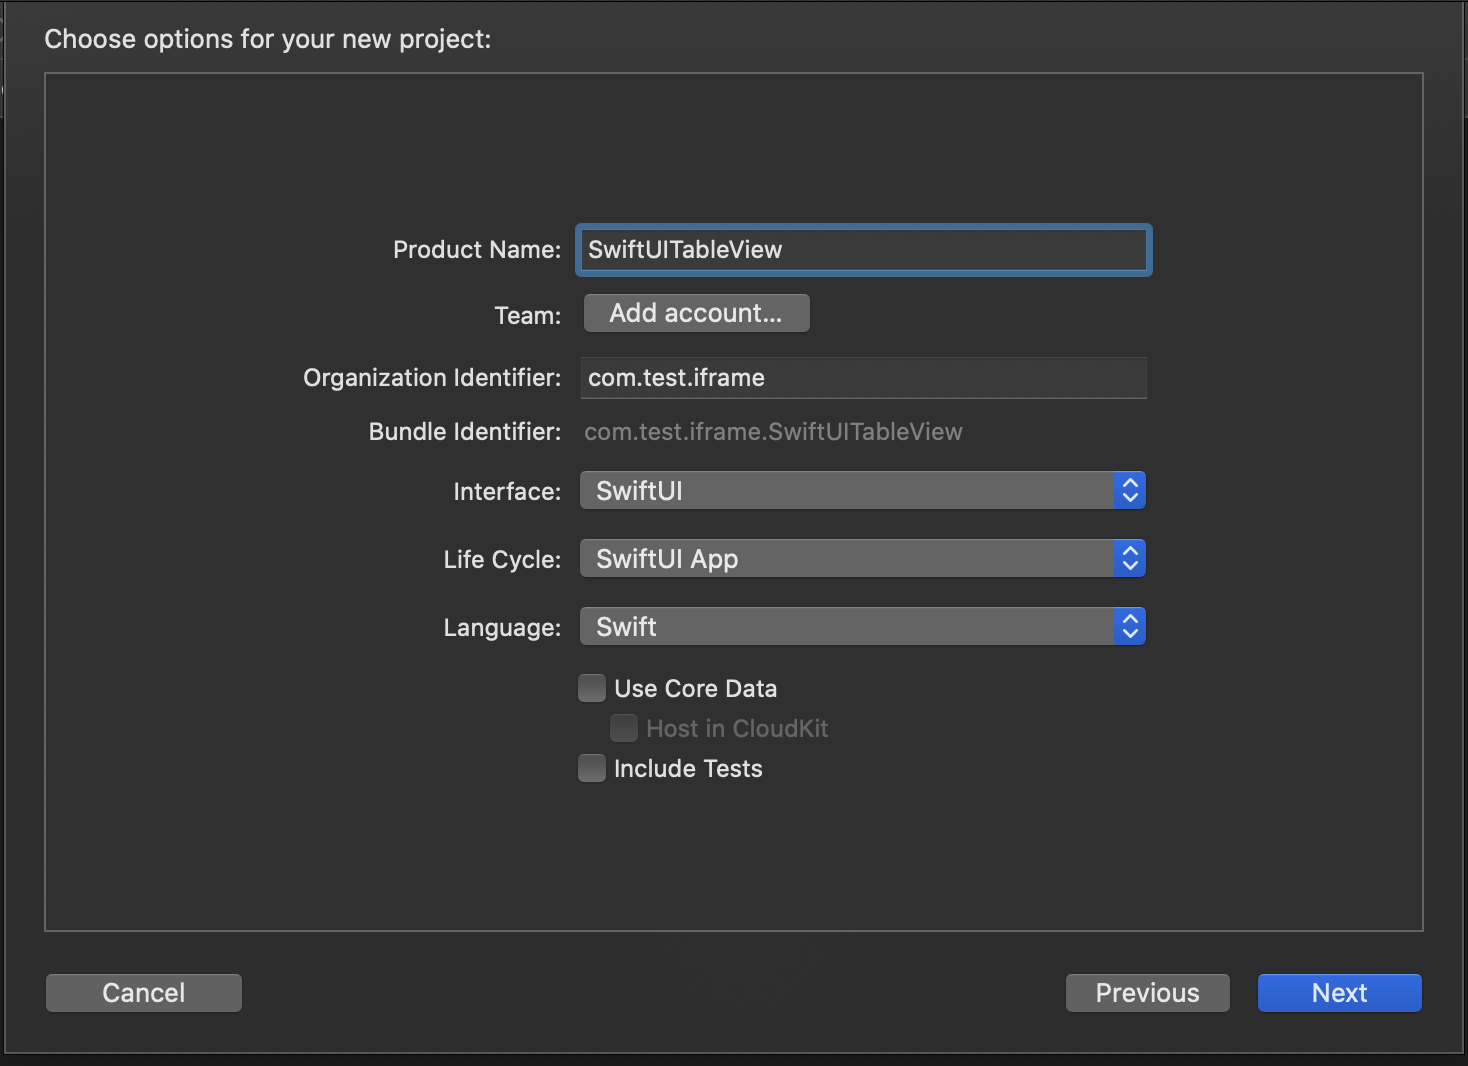
- Select interface to be SwiftUI
- Select SwiftUI App as Life Cycle
- Select language as Objective-c (You believe me?) Swift, The language is Swift
The image above shows the basic project configuration. Now open the project
What we are making
We are going to make a simple list of cute animals. This app will display a list of cute animals with their name and image. The table view will be driven by a data source. For now, we are keeping things local. You need to go to iemoji and download following animal images
- Goat (its cute for many, not me but many)
- Deer
- Cat
- Dog
Add the images in XCAssets and you can keep the scale universal for this tutorial
Introduction to basic
If you open the SwiftUITableviewApp.swift file you will see it contains the following code
struct SwiftUITableviewApp: App {
    var body: some Scene {
        WindowGroup {
            ContentView() // this calls ContentView in file ContentView.swift
        }
    }
}
This is the app launch point for simplicity we will be working only in ContentView.swift.
Creating Tableview
We will create an Animal struct that will conform to Identifiable as shown in the code below
struct Animal:Identifiable { // its a requirement for List datasource
    var id: Int
    var name: String
    var image: String
}
Now we will create multiple instances of this struct and store it in an animalList array
let animalList = [
    Animal(id: 1, name: "goat", image: "goat"),
    Animal(id: 1, name: "dog", image: "dog"),
    Animal(id: 1, name: "deer", image: "deer"),
    Animal(id: 1, name: "cat", image: "cat"),
]
Now before we create our row I would like to click on the resume button in the preview section. You should see a Hello World screen this is because of the code
struct ContentView: View {
    var body: some View {
        Text("Hello, world!")
            .padding()
    }
}

struct ContentView_Previews: PreviewProvider {
    static var previews: some View {
        ContentView()
    }
}
Lets create a simple row and show it on screen directly without list.
struct cell: View {
    var body: some View {
        HStack { // HStack means horizontal stack and we have stacked image and text component horizontally
            Text("goat")
            Image("goat")
        }
    }
}
after creating a simple row we will call it in ContentView to show on screen
struct ContentView: View {
    var body: some View {
        Cell()
    }
}
Now once you click resume on the preview pannel you will be presented with our magnificent goat
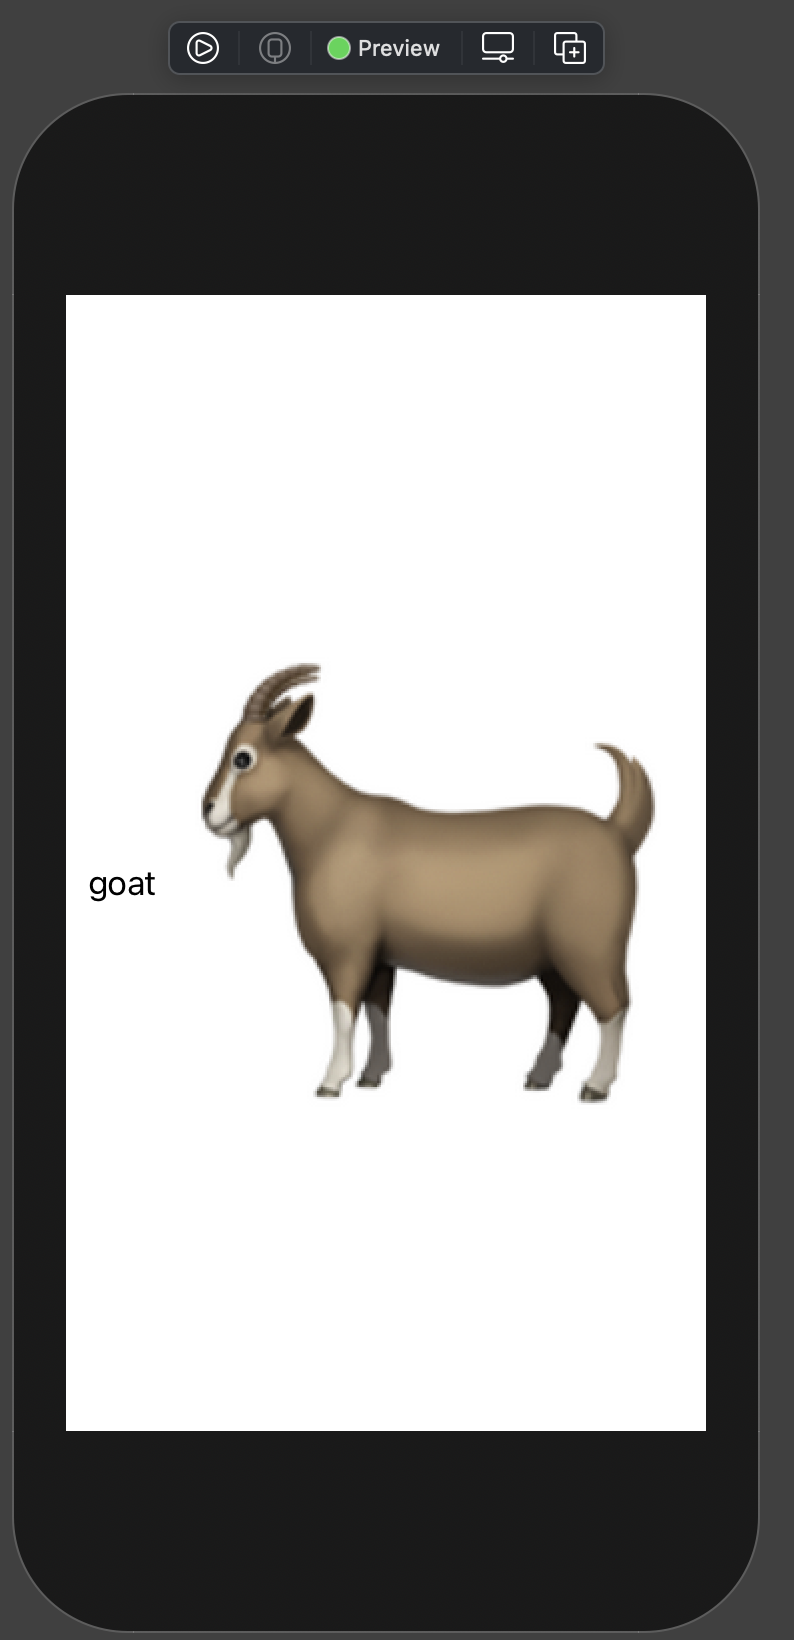
Yuck!!!!
Its not looking that presentable. So we will be adding some spacer to add space between our goat and text and then we will resize the goat follow on in code.
struct Cell: View {
    var body: some View {
        HStack {
            Text("goat")
            Spacer() // will add space between text and goat like pring
            Image("goat")
                .resizable()
                .aspectRatio(contentMode:.fit)
                .frame(maxWidth:40) // setting max width
        }
    }
}
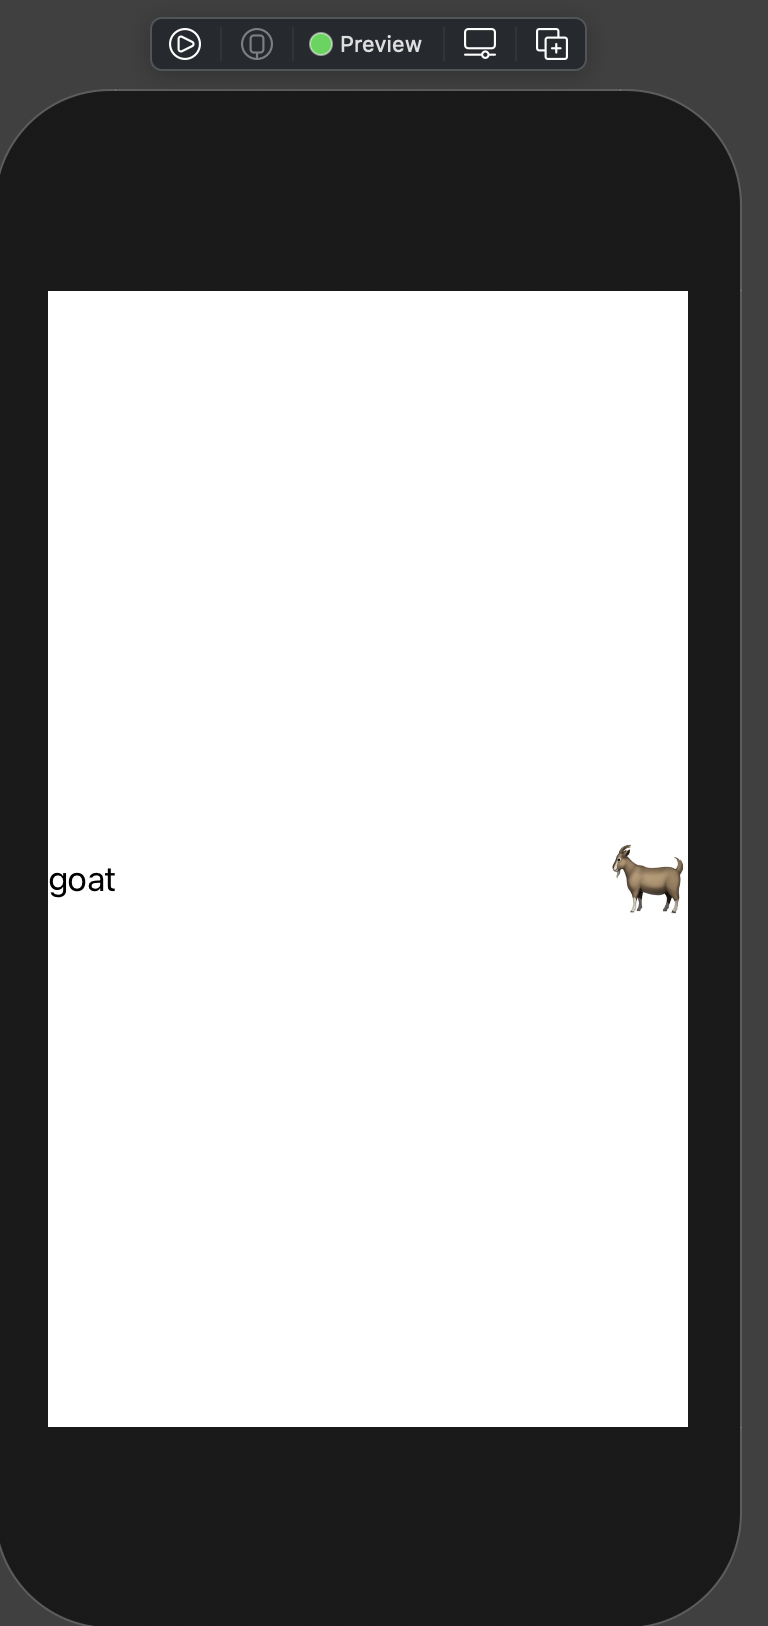
Now the image looks less goatish. At this point, we will not worry about the leading and trailing spaces as our table view will take care of it.
As you keen-eyed people have already observed that the cell we have created is showing static data and is not a part of any table view, In the next step we will create that
// make the cell dynamic
struct Cell: View {
    var animal:Animal. // added a animal type property
    var body: some View {
        HStack {
            Text(animal.name) // used property to get name
        Spacer()
            Image(animal.image) // used property to get image name
            .resizable()
            .aspectRatio(contentMode:.fit)
            .frame(maxWidth:40)
        }
    }
}
At this point, you will start getting errors in content view but don’t worry about it lets create our table view list as we call them in swift
struct Mytable: View {
    var animals: [Animal] // data source animal array
    var body : some View {
        List(animals) { // list which accepts animals(animal must conform to identifiable)
            animal in Cell(animal: animal) // loopint through animals and passing each animal to cell
        }
    }
}

// now lets make changes in our content_previews Mytable_Previews

struct Mytable_Previews: PreviewProvider { // we have renamed Content_previews
    static var previews: some View {
        Mytable(animals: animalList) // showing MyTable and passing animalList to it.
    }
}
Done!!! now resume the preview you should see the list with cells!!! as given below
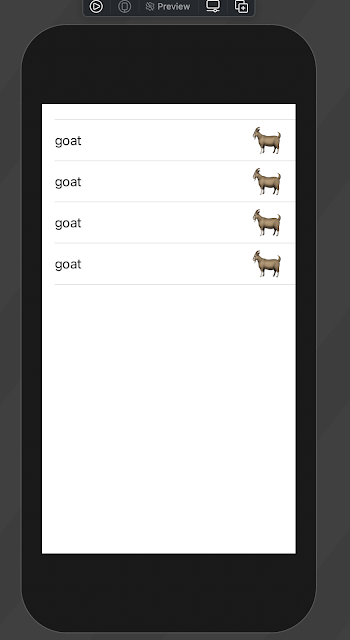
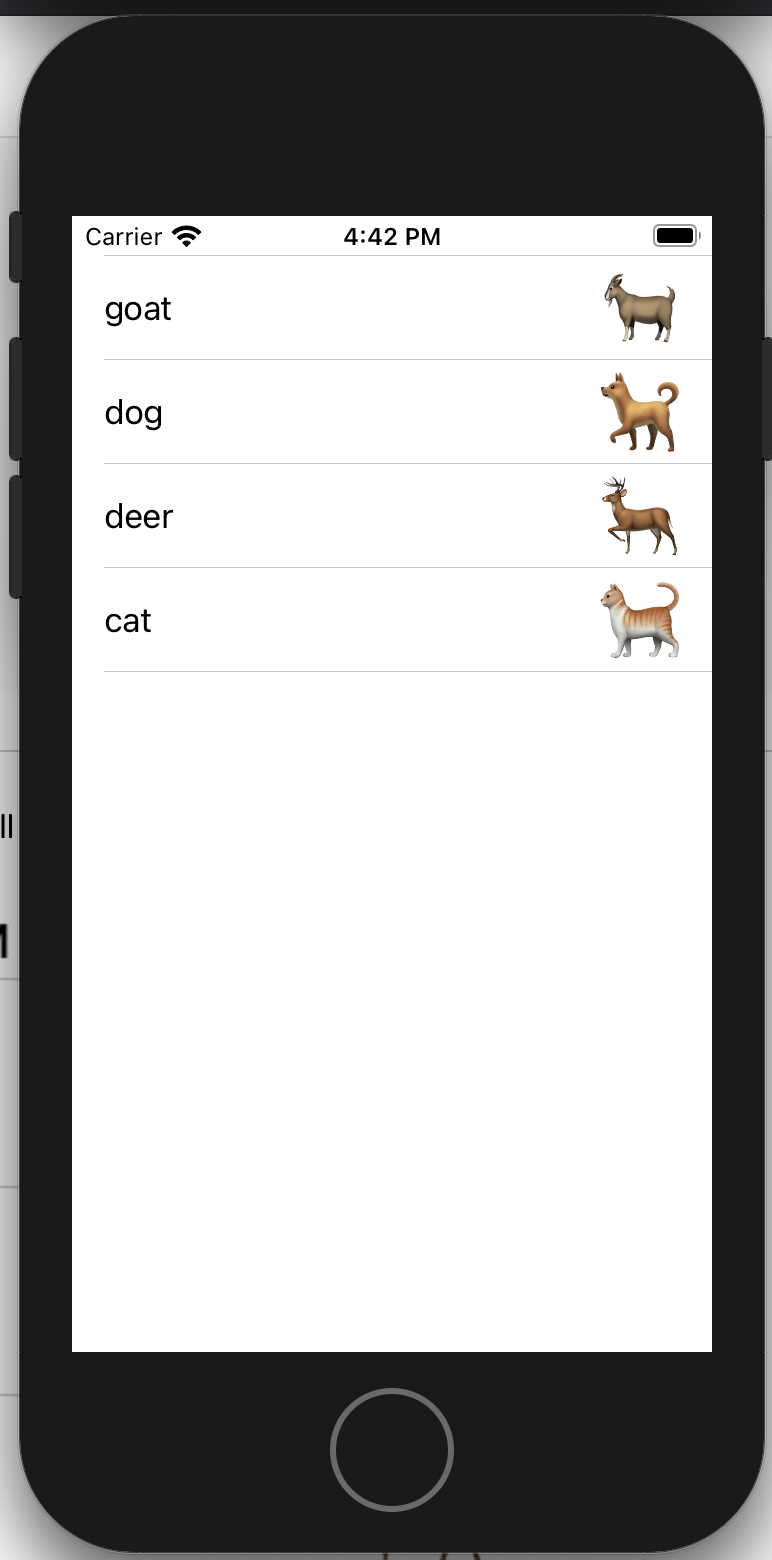
Only goats, that’s not what we want. Let’s take a look at our data source you will see that we have kept all the id:1 for all animals so only one type of data is being shown let’s update our data source as given below
let animalList = [
    Animal(id: 1, name: "goat", image: "goat"),
    Animal(id: 2, name: "dog", image: "dog"),
    Animal(id: 3, name: "deer", image: "deer"),
    Animal(id: 4, name: "cat", image: "cat"),
] // updated all ids they are all different now

//after this your file should like
import SwiftUI

struct Animal:Identifiable {
    var id: Int
    var name: String
    var image: String
}

let animalList = [
    Animal(id: 1, name: "goat", image: "goat"),
    Animal(id: 2, name: "dog", image: "dog"),
    Animal(id: 3, name: "deer", image: "deer"),
    Animal(id: 4, name: "cat", image: "cat"),
]

struct ContentView: View {
    var body: some View {
        Mytable(animals: animalList) // this will actually show on app run
    }
}

struct Mytable_Previews: PreviewProvider {
    static var previews: some View {
        Mytable(animals: animalList) // this is for preview only
    }
}

struct Cell: View {
    var animal:Animal
    var body: some View {
        HStack {
            Text(animal.name)
        Spacer()
            Image(animal.image)
            .resizable()
            .aspectRatio(contentMode:.fit)
            .frame(maxWidth:40)
        }
    }
}

struct Mytable: View {
    var animals: [Animal]
    var body : some View {
        List(animals) {
            animal in Cell(animal: animal)
        }
    }
}
Now resume preview again or run your app you will have a list of animals
Hope you enjoyed it.