This is part one of a two-part blog post. We will integrate firebase cloud messaging in a react native android app. We will first create a firebase project and will create an android app within it. If you wish to see the configuration steps in react native then you can read the part two
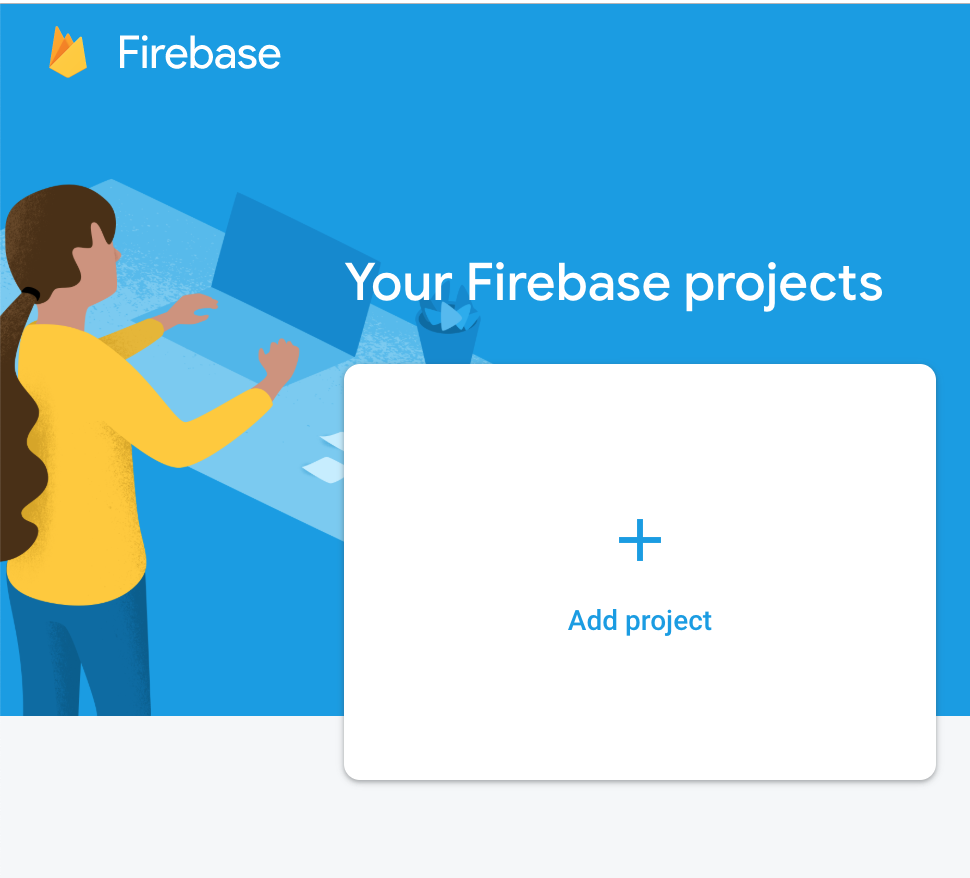
Step 1: Login to Firebase using your google account. And click on “go to console”. On console, you will see a big “+” with add project written. Click on it.
Step 2: Once you click on the “+” a form will appear asking for a project name. Type your desired project name and click continue

Step 3: You will be asked to set up analytics for your project, ignore it for now. Click create project as shown

Firebase will take a few moments to create your project
Once done you can go to the console and select your project to enter your Firebase project console as shown below

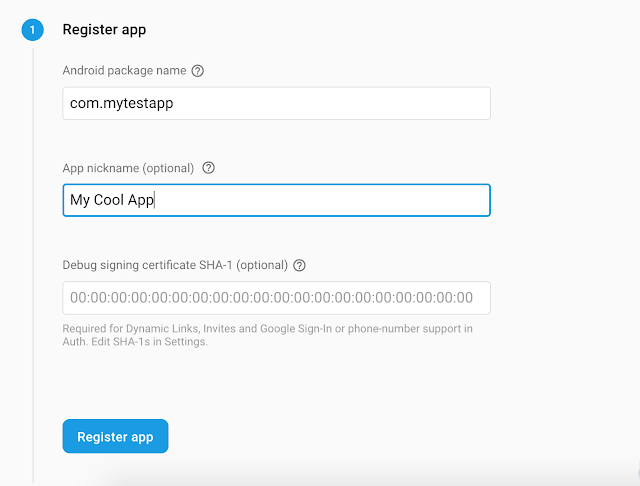
Step 4: Click on the android app icon. This will open a form as shown below. Fill in your app package name and nickname. The app package name should be same as in your react native project, you can find it in mainactivity.java file at the top (One of the many places). Once you fill these two info click register as shown below.
Step 5: Once you register your app you will be able to download google-services.json file. Download it and place it in your android->app folder at the top level and click next. As shown below

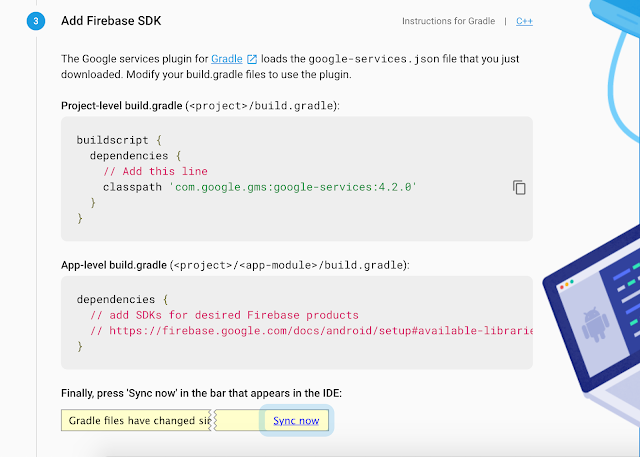
Step 6: Add the classpath at the app level build.gradle file as shown in the image
With this, your task at firebase console is done. You have successfully created a firebase project and added an android app to it. In the next part, we will integrate firebase into react native.